Hacking on the Jiophone - From getting a rootshell to running Doom
A few days ago, I found an old Jiophone. At first, it appeared to be a simple, locked down KaiOS device. But after a day of tinkering around with it, I found myself running doom on it.
Project’s source (GPLv2): doom_qualcomm-msm890x
If your attention span is cooked (like mine) (don’t) feel free skip to the Final result
Preface
The JioPhone (LYF F220B) is a Qualcomm MSM8909 device. It runs KaiOS 2.5 and has a bunch of vendor specific apps installed on it.
Since it ran KaiOS (fork of boot2gecko, aka b2g), apps are just webpages - consisting of just HTML and CSS pages.
This phone doesn’t allow installing third-party apps. But there exist two options for “sideload”-ing KaiOS webapps:
- By modifying and reflashing the
userdata.imgorsystem.imgpartitions - By using an app called “OmniSD”
The second option involves flashing an untrusted ext4 partition to the device, so I ruled it out.
Rooting the device (Ie, installing a backdoor)
TL;DR: Modify boot partition to add a non-standard sshd service running as root accessible over wifi.
Rooting this device involves extracting, modifying and reflashing partitions on the device.
Since this device has a Qualcomm processor (MSM8909), partitions can be edited using
“EDL mode” - a recovery environment that operates on a level lower than fastboot.
I put the device into EDL Mode by pressing the “*” key while plugging it to a USB port while it’s in the power-off state. Then, I used this tool to interact with the device. It is also packaged in nixpkgs as edl
Then, I extracted the android boot image and separated it into the kernel and initramfs
by using unpack_bootimg. The initramfs was a gzip compressed CPIO archive, so extracting
it was a walk-in-the-park.
To get a rootshell, I dropped a reverse-ssh binary
into sbin/ in the initramfs. The binary is compiled for ARMv7, and cross compilation
was as easy as setting a few environment variables, thanks to Go’s awesome (cross-) compiler features.
After adding the binary into the initramfs and making it executable, I added a service declaration
to init.rc which starts reverse-ssh as root. I also added on clause that started the service on
boot.
Once the changes were done, I repacked the bootimage using mkbootimg and flashed it onto the boot partition.
So, as soon as the device turns on, reverse-ssh is started as root user exposing a password protected rootshell.
Both mkbootimg and unpack_bootimg are available in nixpkgs as a part of the
android-tools package.
🤓🤓 Just use adb root 🤓🤓
Thanks to my skill issues, I faced the following blockers while exposing adb with root privs over usb.
I had a hard time enabling the developer menu in settings.
I followed this Banana Hackers blogpost which involved binary-editing the filesystem image, and it took quite some time to enable the developer menu.
Getting my
adbserver’s pubkey into the userdata partition’s trusted adbkeys took me an absurd amount of timeadb rootjust didn’t workadb rootis used to get root access withadb. For some reason, it absolutely didn’t work in my case.I guess it is because of some arcane property-kungfu like
ro.secureorro.adb.secure, but even after patching the properties by editing the system and userdata partitions, I couldn’t getadb rootto work. So I just went ahead with thereverse-sshapproach coz YOLO.
Assessing Hardware Interfaces Before I “Doom” myself
Drawing to the framebuffer
My objective for this phase was to fill the screen with white.
Since the kernel exposed /dev/graphics/fb0, I followed this blog post by Kevin Boone
to draw to the screen. Unfortunately, it didn’t work as the framebuffer driver
for this screen (mss_mdp) required special “nudges” for it to actually draw the buffer to the screen.
I referred to the KaiOS source for mitigating this issue instead of looking at the kernel sources. For filling the screen with a blank color, after writing to the mapped framebuffer memory, a special IOCTL was issued as a “nudge” to sync the mapped memory to the pixels in the screen.
After implementing it in my POC, I was able to clear the screen with a RGB565 color of my choice.
Handling key input
Input handling was pretty straightforward. I opened /dev/input/event0 (main keypad)
and /dev/input/event1 (reject call button) with O_NONBLOCK and continuously polled
until it returned -1, caused by EAGAIN. This is very similar to how SDL handles userinput
with SDL_PollEvent.
Porting (Pure)Doom
I chose PureDOOM as a base for my doom port. This decision was mainly because of reduced compilation complexity - PureDOOM is a single-header doom implementation, which meant I could include it in my project easily without complex build steps.
It also makes running doom on weird targets like microwaves very simple - you just have to implement a few functions (malloc and free, file operations, gettime, puts…) and you have basic doom ready.
PureDOOM returns a “palette-buffer” in doom’s native resolution (320x200 pixesl),
where each pixel is an index into one of the color palettes.
I patched the I_SetPalette function in the PureDOOM source
to pre-compute a RGB565 lookuptable for each color on the palette, and use
it to populate the screen framebuffer and scale the output to the device’s resolution.
Once the framebuffer is filled, I nudge the driver to draw the framebuffer to the screen.
Handling input was straightforward - I ported my /dev/input/event[0,1] workbench into a input system
which calls doom_key_up and doom_key_down in response to physical key-presses.
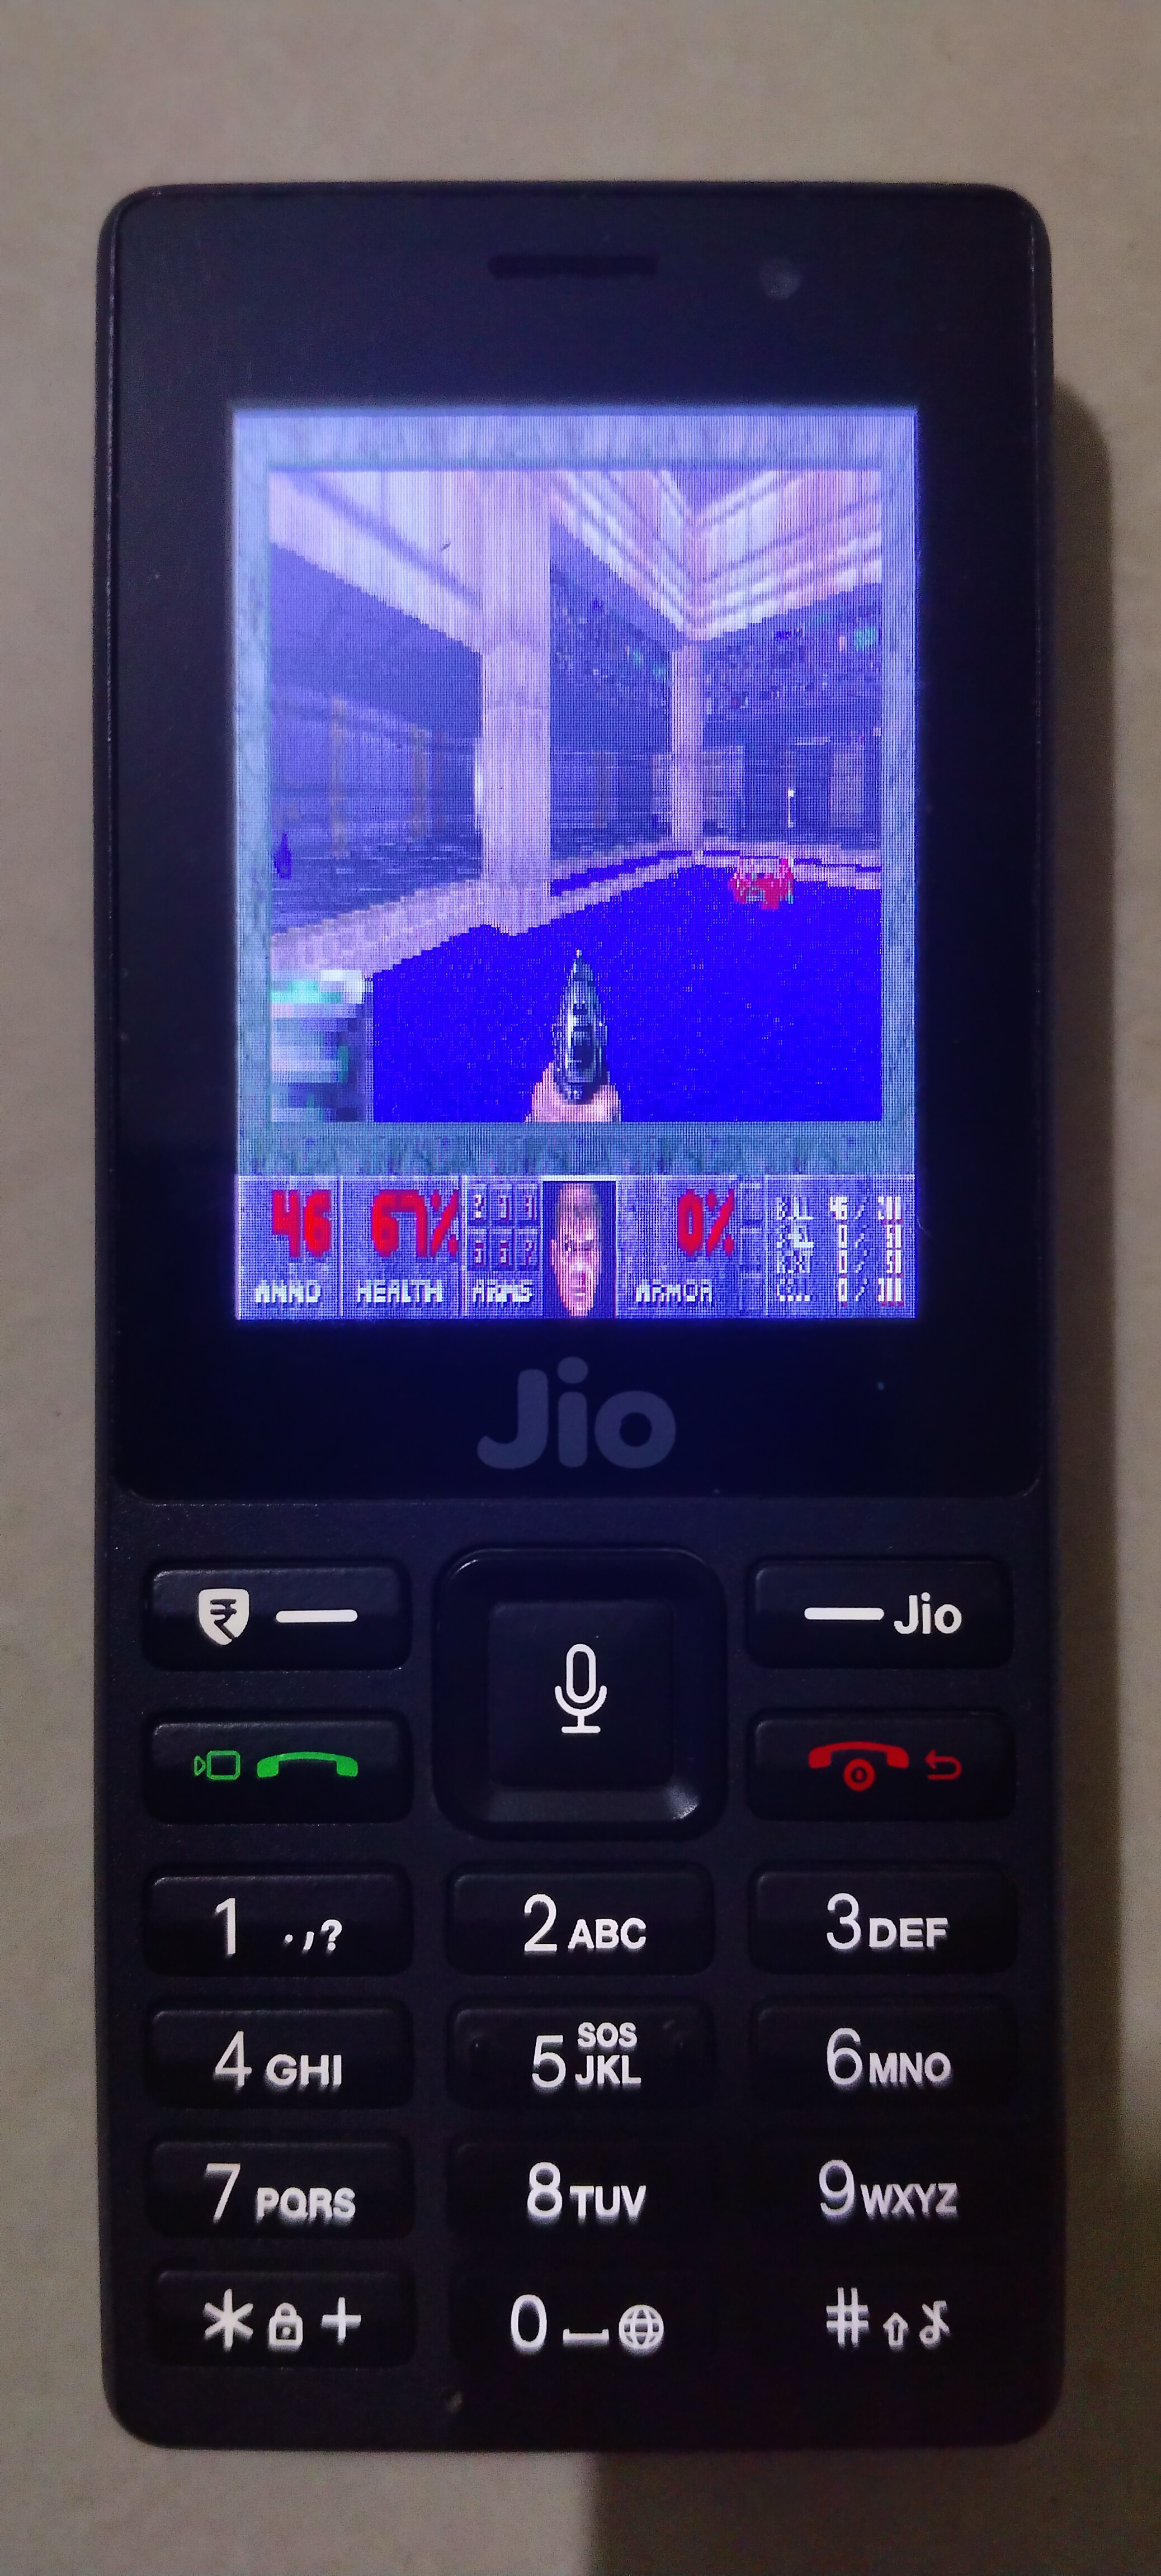
Final result
After wiring everything together - the framebuffer renderer, input handling, and PureDOOM - the game booted up and ran on the JioPhone’s 240×320 display.
It’s not the smoothest experience - the small keypad makes navigation painful and awkward - but it runs. And honestly, that’s the whole point.
Can it run Doom? Turns out, yes. Even a locked-down feature phone from Jio can.